
M52-5B Ceiling Fan Manual: A Comprehensive Guide
This manual provides detailed instructions for installing and operating the M52-5B ceiling fan‚ ensuring safe and efficient use of your new appliance․
Welcome! This manual is designed to guide you through the seamless installation and operation of your M52-5B ceiling fan․ Whether you’re replacing an existing fixture or installing a new one‚ these instructions will ensure a safe and successful setup․ The M52-5B model offers both illumination and air circulation‚ enhancing comfort in any room․
Key features include adjustable speed settings and a compatible light kit (sold separately or included‚ depending on the package)․ Before beginning‚ carefully review all safety precautions and the parts list to familiarize yourself with the components․ Online resources‚ including installation videos‚ are available to supplement these written instructions․ Remember to disconnect power before starting any electrical work․ Proper installation guarantees optimal performance and longevity of your new ceiling fan․
Safety Precautions
Important Safety Warnings: Before commencing installation or maintenance‚ always disconnect the electrical power supply at the circuit breaker or fuse box․ Failure to do so could result in serious injury or death․ This ceiling fan is intended for indoor use only and should not be exposed to moisture․
Ensure the ceiling junction box is securely mounted and capable of supporting the fan’s weight․ Never attempt to modify the fan․ Use only approved accessories and light bulbs․ Do not operate the fan if any parts are missing or damaged․ Keep children and pets away during installation․ Caution: Ceiling fan light kits are designed for use only with ceiling fans․ Follow all local electrical codes during installation․
Package Contents & Parts List

Verify all components are present before beginning installation․ The package should include: 1 x Fan Motor‚ 5 x Fan Blades‚ 1 x Mounting Bracket‚ 1 x Downrod‚ 1 x Canopy‚ 1 x Light Kit (if applicable)‚ 1 x Remote Control (if applicable)‚ 1 x Instruction Manual․
Specific parts include: Fitter Plate‚ Blade Holders‚ Screws (various sizes – identified in separate bag)‚ Wire Connectors (wire nuts)‚ and a Balancing Kit․ Carefully unpack all items and compare them to the parts list to ensure nothing is missing․ If any parts are absent or damaged‚ do not proceed with installation; contact customer support immediately for replacements․ Retain the packaging for potential returns․
Identifying the Components
The Fan Motor is the central housing containing the motor and wiring․ Fan Blades are designed for optimal airflow․ The Mounting Bracket securely attaches the fan to the ceiling junction box․ The Downrod connects the fan motor to the mounting bracket‚ determining the fan’s height․
The Canopy covers the mounting bracket and wiring․ Blade Holders connect the blades to the motor․ Screws are used throughout the assembly process․ Wire Connectors (wire nuts) safely join electrical wires․ Familiarize yourself with each component’s shape and function before starting․ Refer to diagrams in the manual for visual identification․ Understanding these parts will simplify the installation process․
Checking for Missing Parts
Carefully unpack all components and compare them against the parts list included in this manual․ Ensure you have the fan motor‚ blades‚ mounting bracket‚ downrod‚ canopy‚ blade holders‚ and all necessary screws and wire connectors․
Verify the quantity of each item matches the list․ If any parts are missing‚ do not proceed with installation․ Contact customer support immediately‚ providing your model number (M52-5B) and a list of the missing components․ Attempting installation with missing parts could compromise safety and functionality․ A complete inventory ensures a smooth and secure installation process․ Retain the packaging until you confirm all parts are present․

Installation Guide
Follow these steps carefully to safely and correctly install your M52-5B ceiling fan‚ ensuring optimal performance and preventing potential hazards during operation․
Preparing for Installation
Before beginning the installation process‚ careful preparation is crucial for a smooth and safe experience․ First‚ thoroughly review all safety information and installation instructions provided within this manual․ Ensure you have adequate space to work and a clear understanding of each step․
Gather all necessary tools‚ including a screwdriver‚ wire strippers‚ pliers‚ and a ladder․ Prioritize electrical safety by disconnecting the power supply to the circuit before commencing any wiring work․ Verify the ceiling junction box is securely mounted and rated to support the fan’s weight․
Double-check that all components listed in the package contents are present and undamaged․ Familiarize yourself with each part to streamline the installation process․ Taking these preparatory steps will significantly reduce installation time and ensure a secure‚ functional ceiling fan․
Tools Required
Successful installation of your M52-5B ceiling fan necessitates having the correct tools readily available․ A Phillips head screwdriver is essential for securing various components‚ while a flathead screwdriver may be needed for specific adjustments․ Wire strippers are crucial for safely preparing electrical wires for connection․
Pliers will assist with bending and manipulating wires‚ ensuring secure connections within the junction box․ A ladder is indispensable for reaching the ceiling mounting location‚ prioritizing safety with a stable and appropriate height․ A voltage tester is highly recommended to confirm the power is completely disconnected before working with wiring․
Additionally‚ a measuring tape can be helpful for ensuring proper blade clearance‚ and a level will guarantee the fan hangs straight․ Having these tools prepared beforehand will streamline the installation process and contribute to a professional result․
Electrical Safety Considerations
Prioritizing electrical safety is paramount during the installation of your M52-5B ceiling fan․ Always disconnect the power supply at the circuit breaker or fuse box before commencing any wiring work․ Never assume the power is off; always verify with a voltage tester․ Ensure the junction box is securely mounted and rated to support the fan’s weight․
Adhere strictly to local electrical codes and regulations․ If you are uncomfortable working with electrical wiring‚ consult a qualified electrician․ Improper wiring can create a fire hazard or result in electric shock․ Use appropriately sized wire connectors (wire nuts) and ensure all connections are tight and secure․

Double-check all wiring connections before restoring power․ Warning: Disconnect the power prior to removing or installing a light fixture․ Ignoring these precautions could lead to serious injury or property damage․
Mounting the Ceiling Fan
Securely mounting the M52-5B ceiling fan is crucial for safe operation․ Begin by verifying the ceiling structure can support the fan’s weight․ Attach the mounting bracket directly to the ceiling junction box‚ ensuring it’s firmly secured with screws appropriate for your ceiling type․ Confirm the bracket is level before proceeding․
Carefully lift the fan motor assembly and align it with the mounting bracket․ Gently hang the fan onto the bracket’s hook (if equipped) to free your hands for wiring․ Double-check the fan is securely seated on the bracket before releasing it․ Ensure all screws are tightened to the manufacturer’s specifications․
Proceed with wiring the fan motor according to the wiring diagram‚ paying close attention to color coding․ A properly mounted fan is the foundation for years of reliable performance․
Attaching the Mounting Bracket
Begin by locating a suitable ceiling joist capable of supporting the fan’s weight․ Ensure the electrical junction box is securely fastened to the joist․ Position the mounting bracket over the junction box‚ aligning the screw holes․ Utilize screws specifically designed for ceiling fan installation – those provided are typically sufficient․
Carefully screw the bracket into the junction box‚ tightening each screw gradually and evenly․ Avoid over-tightening‚ which could strip the screw holes or damage the ceiling․ Verify the bracket is flush against the ceiling and doesn’t wobble․ A stable bracket is paramount for safe fan operation;
Confirm the bracket is level using a spirit level․ Adjust as needed before fully tightening all screws․ A properly installed bracket provides a secure foundation for the fan․
Wiring the Fan Motor
Before commencing‚ ensure power is completely disconnected at the breaker box․ Identify the fan’s wires – typically black (hot)‚ white (neutral)‚ and blue (light kit‚ if applicable)․ Match these to the corresponding wires in the ceiling junction box․ Use wire connectors (wire nuts) to securely join the wires‚ twisting clockwise․
Connect the black wire from the fan to the black wire in the ceiling box․ Connect the white wire from the fan to the white wire in the ceiling box․ If a blue wire is present‚ connect it to the light kit’s hot wire (often red)․ Carefully tuck the wires into the junction box‚ avoiding pinching or strain․
Double-check all connections for tightness and proper insulation․ Secure the fan motor assembly to the mounting bracket‚ following the bracket’s specific instructions․
Fan Blade Installation
Begin by attaching each blade to a blade holder using the provided screws․ Ensure the screws are tightened securely‚ but avoid over-tightening‚ which could damage the blade or holder․ Repeat this process for all blades‚ creating complete blade and holder assemblies․
Next‚ carefully align each blade holder assembly with the motor housing․ Locate the designated screw holes on the motor and the blade holders․ Securely fasten each blade holder to the motor using the provided screws‚ again ensuring they are snug but not overly tightened․
Verify that all blades are firmly attached and evenly spaced․ A loose blade can cause imbalance and noise during operation․
Attaching the Blades to the Blade Holders
First‚ identify the blade and blade holder components from the parts list․ Carefully position a blade onto a blade holder‚ aligning the screw holes․ Using the screws provided in the hardware pack‚ begin to attach the blade to the holder․
Ensure the blade is flush against the holder before fully tightening the screws․ Tighten each screw incrementally‚ alternating between them to distribute pressure evenly․ Avoid over-tightening‚ as this could strip the screw holes or damage the blade material․
Repeat this process for each remaining blade and blade holder assembly․ Double-check that all screws are securely fastened before proceeding to the next step․
Securing the Blade Holders to the Motor
Now‚ align each assembled blade holder with the corresponding mounting point on the fan motor housing․ Typically‚ these points are pre-drilled holes around the motor’s circumference․ Carefully position the blade holder‚ ensuring the screw holes align perfectly․
Using the appropriate screws from the hardware pack‚ begin to attach each blade holder to the motor․ Tighten the screws gradually‚ alternating between holders to maintain balance․ Avoid fully tightening any single screw until all holders are initially secured․
Once all blade holders are attached‚ go back and fully tighten each screw‚ ensuring a firm and stable connection․ Double-check all screws for tightness before proceeding․

Operating the Fan
Utilize the included remote control to manage speed settings and the integrated light kit‚ providing convenient control over your M52-5B ceiling fan’s functions․
Remote Control Functions
The remote control is your primary interface for operating the M52-5B ceiling fan․ It allows for effortless adjustments to both fan speed and the integrated light kit․ Familiarize yourself with the button layout for optimal control․
Speed settings typically include low‚ medium‚ and high options‚ allowing you to customize airflow to your preference․ Some remotes may also feature a “natural breeze” mode‚ simulating a more organic airflow pattern․ The light control functions enable you to turn the light on or off‚ and often include dimming capabilities for adjustable brightness․
Ensure the remote has fresh batteries for reliable operation․ If the remote becomes unresponsive‚ check the battery compartment first․ Proper use of the remote enhances the convenience and enjoyment of your ceiling fan․
Speed Settings
The M52-5B ceiling fan offers multiple speed settings‚ accessible via the remote control‚ to cater to varying comfort levels and environmental conditions․ Typically‚ these settings are designated as low‚ medium‚ and high‚ each providing a distinct airflow intensity․
The low speed setting is ideal for gentle air circulation‚ perfect for quiet environments or when a subtle breeze is desired․ Medium speed provides a balanced airflow‚ suitable for general use and moderate temperatures․ High speed delivers maximum cooling power‚ best utilized during warmer weather or when rapid air circulation is needed․
Experiment with each setting to find the optimal balance between comfort and energy efficiency․ Some models may also include a “natural breeze” function‚ which varies the speed automatically for a more realistic airflow experience․
Light Control
The M52-5B ceiling fan’s integrated light kit is conveniently controlled through the remote‚ offering various illumination options․ A dedicated “light” button typically toggles the light on and off with each press․ Many remotes also feature dimming capabilities‚ allowing you to adjust the brightness to suit your preference and the room’s ambiance․
Dimming functionality usually operates incrementally‚ with each press of the dimming button reducing or increasing the light intensity․ Some models support full-range dimming‚ providing precise control over the light level․ Ensure compatible LED bulbs are used for optimal dimming performance․
The light kit is designed for use with ceiling fans only; do not attempt to use it with other fixtures․ Always disconnect power before changing bulbs․
Troubleshooting Common Issues
If your M52-5B ceiling fan isn’t starting‚ first verify the power supply by checking the circuit breaker and wall switch․ Ensure all wiring connections within the fan housing are secure․ If the fan still doesn’t operate‚ the remote receiver may need resetting or replacing․
For a non-functional light kit‚ confirm the bulb is properly installed and hasn’t burned out․ Check the wiring connections specifically for the light kit‚ ensuring they are firmly connected․ A faulty remote or receiver could also be the cause; try a fresh battery in the remote․
Always disconnect power before attempting any troubleshooting․ If issues persist‚ consult a qualified electrician․
Fan Doesn’t Start
If your M52-5B ceiling fan fails to start‚ begin by verifying the power source․ Check the circuit breaker in your electrical panel to ensure it hasn’t tripped․ Confirm the wall switch controlling the fan is in the “on” position․ Next‚ carefully inspect all wiring connections within the fan’s motor housing‚ ensuring each wire is securely fastened․
A common issue is a disconnected wire․ If the problem continues‚ the remote control receiver might require a reset․ Try replacing the batteries in the remote․ If none of these steps resolve the issue‚ the motor itself may be faulty‚ requiring professional attention․
Remember to disconnect power before any inspection․
Light Kit Not Working
If the light kit on your M52-5B ceiling fan isn’t functioning‚ first confirm the light bulbs are securely screwed in and haven’t burned out․ Replace them with bulbs of the correct wattage‚ as specified in the ceiling fan specifications․ Next‚ check the wiring connections within the light kit housing‚ ensuring all wires are firmly connected using the provided wire nuts․
Verify the remote control’s light settings are properly configured․ Sometimes‚ the light function may be accidentally turned off via the remote․ If the issue persists‚ inspect the blue wire connection – this often controls the light kit․ A loose connection here is a frequent cause․
Always disconnect power before inspecting wiring․

Maintenance and Care
Regular maintenance ensures the longevity and optimal performance of your M52-5B ceiling fan․ Dust accumulation can affect efficiency‚ so periodically clean the fan blades with a soft cloth and mild detergent․ Avoid using abrasive cleaners‚ which can damage the finish․ It’s recommended to clean the blades every few months‚ or more frequently in dusty environments․

Crucially‚ check and tighten all screws – including those securing the blades‚ blade holders‚ and mounting bracket – at least twice a year․ Loose screws can cause wobbling and potentially hazardous situations․ Ensure the mounting bracket remains firmly attached to the ceiling joist․
Inspect wiring periodically for any signs of damage․
Cleaning the Fan Blades
Maintaining clean fan blades is essential for optimal airflow and efficiency․ Dust and debris accumulation significantly reduces performance․ To clean‚ always turn off the fan and disconnect the power supply for safety․ Use a soft‚ lint-free cloth or a microfiber duster to gently wipe down each blade․
For stubborn dirt‚ lightly dampen the cloth with a mild detergent solution – avoid harsh chemicals or abrasive cleaners‚ as these can damage the blade finish․ Wipe each blade thoroughly‚ ensuring no residue remains․ Consider placing a drop cloth beneath the fan to catch any falling dust․
Regular cleaning‚ every few months‚ will keep your M52-5B operating at its best․
Checking and Tightening Screws
Regularly inspect all screws associated with your M52-5B ceiling fan to ensure continued safe operation․ Loose screws can cause wobbling‚ noise‚ and potentially lead to component failure․ Turn off the power to the fan before beginning any inspection or tightening․
Focus on the mounting bracket‚ blade holders‚ and the screws securing the light kit (if installed)․ Gently attempt to wiggle each component; any movement indicates a loose screw․ Use a screwdriver of the appropriate size and type to carefully tighten each screw․
Avoid over-tightening‚ as this can strip the screw holes․ Repeat this process every few months‚ or whenever you notice unusual fan behavior․
Replacing the Remote Control
If your M52-5B ceiling fan’s remote control is lost or malfunctioning‚ replacement is straightforward․ First‚ determine the correct replacement remote; Harbor Breeze often uses multiple compatible remotes․ Check the original packaging or the manufacturer’s website for the specific model number․
Power off the fan at the breaker box before proceeding․ The remote typically requires pairing with the receiver unit inside the fan’s canopy․ Follow the pairing instructions included with the new remote – this usually involves a specific sequence of power cycles and button presses․

Ensure proper battery installation in the new remote․ Test all functions after pairing to confirm successful operation․
Light Kit Installation
Installing the light kit on your M52-5B ceiling fan enhances its functionality․ Begin by disconnecting power at the breaker․ Carefully remove the existing cover plate to access the wiring compartment within the fan’s canopy․ Locate the light kit wires – typically blue and black – and the corresponding wires from the fan motor․
Connect these wires using the provided wire nuts‚ ensuring a secure connection: white (or gray) to white‚ and blue to black․ Refer to figure 6 in the full manual for visual guidance․ Gently tuck the wires into the wiring compartment‚ avoiding pinching․
Attach the light kit to the fan‚ securing it with the provided screws․ Finally‚ install the appropriate light bulbs and reattach the light kit’s cover․
Connecting the Light Kit Wiring
Properly connecting the light kit wiring is crucial for safe operation․ With the power disconnected‚ identify the light kit wires – typically a blue wire for the light and a black wire for the fan’s power․ Locate the corresponding wires extending from the fan motor within the canopy’s wiring compartment․
Using the provided wire nuts‚ securely connect the wires‚ matching colors: white (or gray) from the fan to white from the light kit‚ and blue to black․ Ensure each connection is tight and no bare wire is exposed․ Gently tuck the connected wires into the wiring compartment‚ being careful not to pinch or damage them․
Double-check all connections before proceeding to the next step‚ ensuring a secure and reliable electrical connection․
Installing the Light Bulbs
Before installing the light bulbs‚ confirm the maximum wattage specified on the light kit label – exceeding this limit can create a fire hazard․ Carefully remove the light kit’s glass shade or globe‚ if applicable‚ to access the bulb sockets․
Choose the correct bulb type‚ typically indicated on the fixture․ Gently screw the bulbs into the sockets‚ turning clockwise until snug‚ but avoid over-tightening․ Ensure the bulbs are securely seated to prevent flickering or failure․
Replace the glass shade or globe‚ securing it according to the manufacturer’s instructions․ Finally‚ restore power to the fan and test the light kit to verify proper operation․
Ceiling Fan Specifications
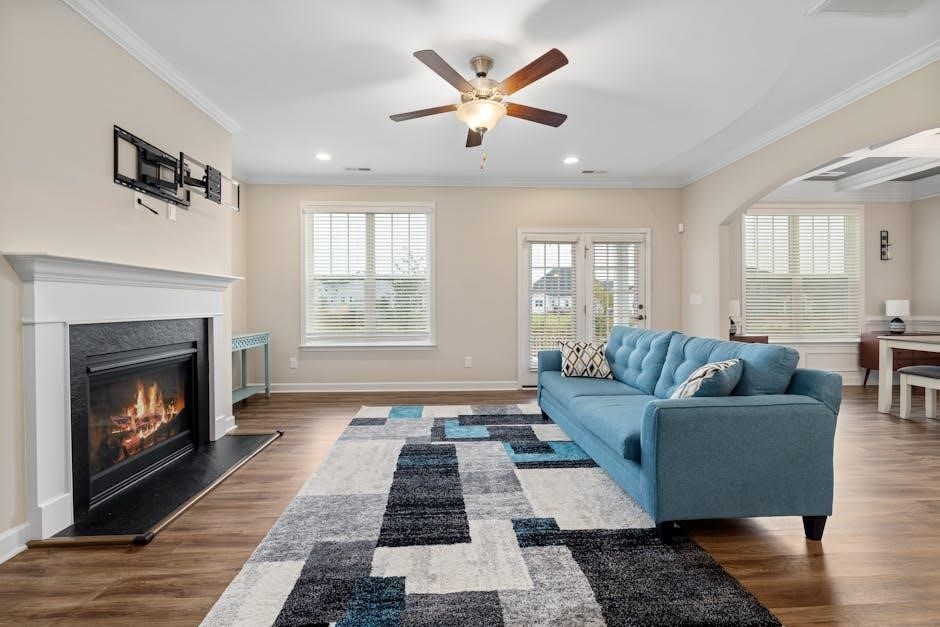
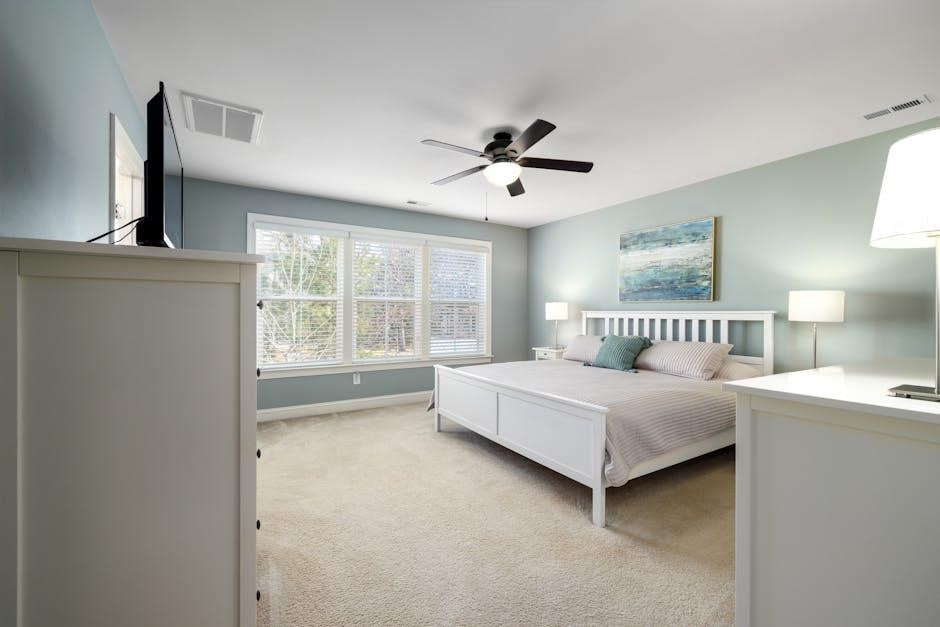
The M52-5B ceiling fan is designed for indoor use and operates on standard 120V/60Hz electrical supply․ Its motor utilizes a high-performance design‚ delivering efficient airflow while maintaining quiet operation․ The fan’s blade span measures 52 inches‚ ideal for medium to large-sized rooms‚ providing optimal air circulation․
Maximum wattage for the integrated light kit is typically 60 watts per bulb‚ depending on the specific bulb type used․ The fan features multiple speed settings‚ controlled via remote‚ allowing for customized comfort levels․ It’s important to adhere to these specifications for safe and optimal performance․
Weight of the fan is approximately 15-20 pounds‚ requiring a ceiling box rated to support this weight․